


We have been writing Java programs using the default font setting provided by Eclipse IDE. We can change the default font settings by selecting 'Window' menu -> 'Preferences' -> 'General' -> 'Appearances' -> 'Colors and Fonts' -> 'Text Font' -> 'Edit' button.
Lets implement this on Eclipse IDE -
1. Launch Eclipse IDE, ensure that the Java Project 'Project 013' is available and the Java code in the 'Class013' is displayed with default font settings as shown below -

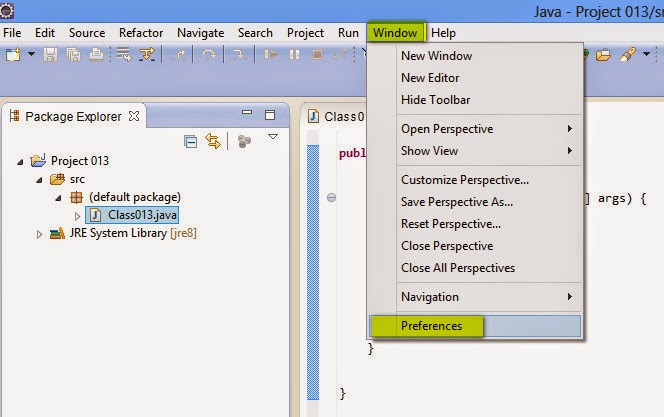
2. Now select 'Window' -> Preferences option as shown below -
3. In the displayed 'Preferences' dialog, expand 'General' and select 'Colors and Fonts' option as shown below -

4. In 'Colors and Fonts', select 'Text Font' and click on 'Edit' Button as shown below -

5. In 'Font' dialog, lets change the Font Size from 10 to 20 and click on 'OK' button as shown below -

6. Click on 'Apply' button followed by 'OK' button on the 'Preferences' dialog as shown below -

7. Observe that the Font Size of the Java Code in Eclipse IDE got changed to 20 from 10 as shown below -

8. You can also change the Font and Font Style in Step 5 to change the Font and Font Style of the Java Code in Eclipse IDE. Now go back to the Font settings and change the Font Size back to 10 by following the above instructions.
Please comment below to feedback or ask questions.
Understanding API (Application Programming Interface) will be explained in the next post.

No comments:
Post a Comment